
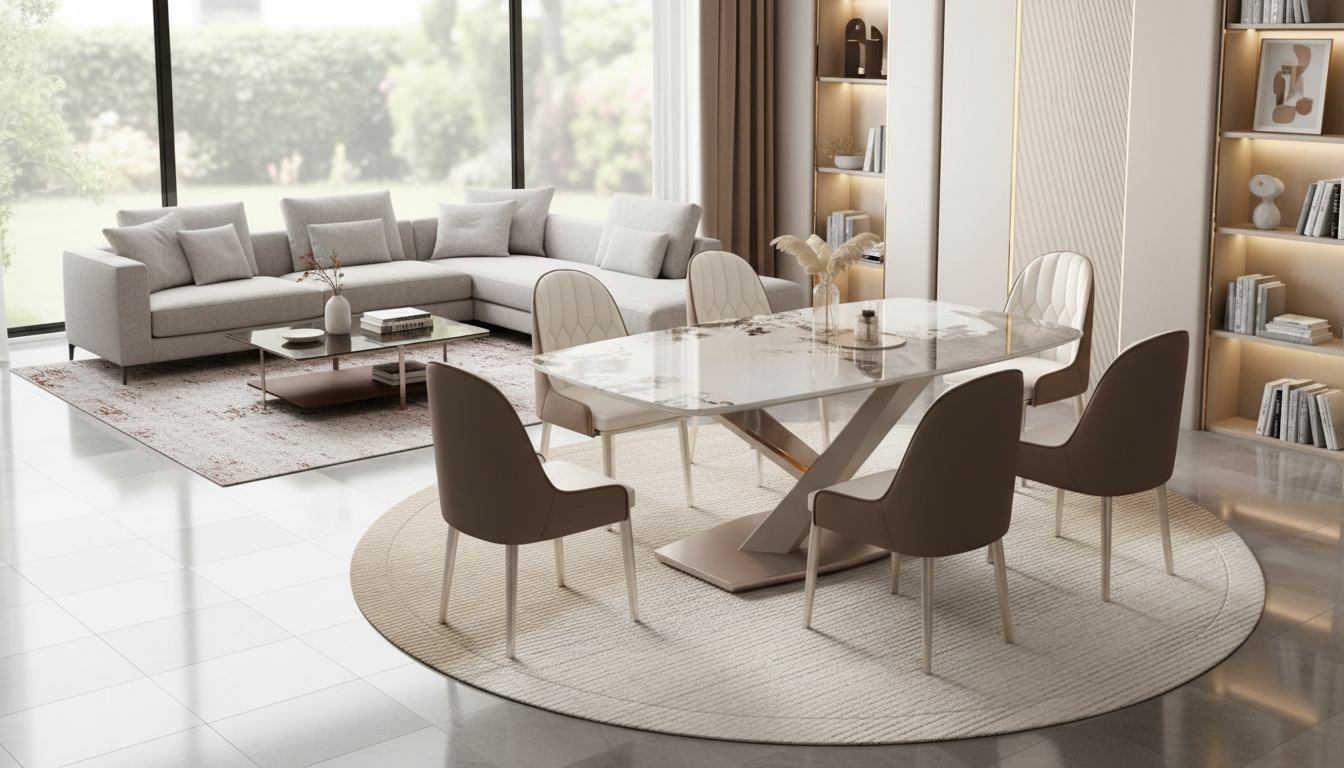
Marble Effect Tutorial: Veins, Swirls & Natural Depth
How do you create the marble effect?
The marble effect is a decorative finish that mimics natural stone veining by layering and gently blending multiple colors. Whether you’re working on paper, a wall, furniture, resin, or a cake, the core idea stays the same: start with a base color, add one or two accent colors in irregular lines or pools, then softly drag or swirl them so the edges feather like real marble.
Answer
To create a convincing marble effect, begin by choosing a light base shade (white, cream, pale gray, or blush) and at least one darker veining color (charcoal, gray-brown, navy, or green). Apply the base evenly and let it reach the right stage for your medium—tacky for paint techniques, fluid for resin, or freshly spread for frosting.
Next, add the vein color in broken, wandering lines rather than straight strokes. Natural marble veining varies in thickness and fades in and out, so avoid symmetry. Immediately soften the lines with a gentle tool: a soft brush, a feather, plastic wrap, a toothpick, or a skewer depending on the surface. The goal is to blur the edges without fully mixing the colors. If desired, add a third “transition” shade (like mid-gray) to create depth and more realistic layering.
Finish by refining: dab with a sponge for cloudy areas, pull a few thin hairline veins, and keep some negative space so the pattern can “breathe.” Once the design looks organic, allow it to cure or dry completely. For painted surfaces, sealing with a clear topcoat can enhance contrast and add a stone-like sheen. For a deeper, step-by-step breakdown across popular materials, visit https://agathin.com/how-do-you-create-the-marble-effect/.
For Marble Effect Tutorial: Veins, Swirls & Natural Depth, the best answer depends on fit, material, care instructions, and how the product will be used day to day.
FAQ
What colors work best for a realistic marble look?
Start with a light base (white, ivory, light gray) and pair it with one darker veining tone (charcoal, taupe, deep gray). Adding a mid-tone helps the veins look layered instead of flat.








Leave a comment