


Replace a KOHLER Bathroom Faucet Cartridge in 5 Steps
How to replace a KOHLER bathroom faucet cartridge?
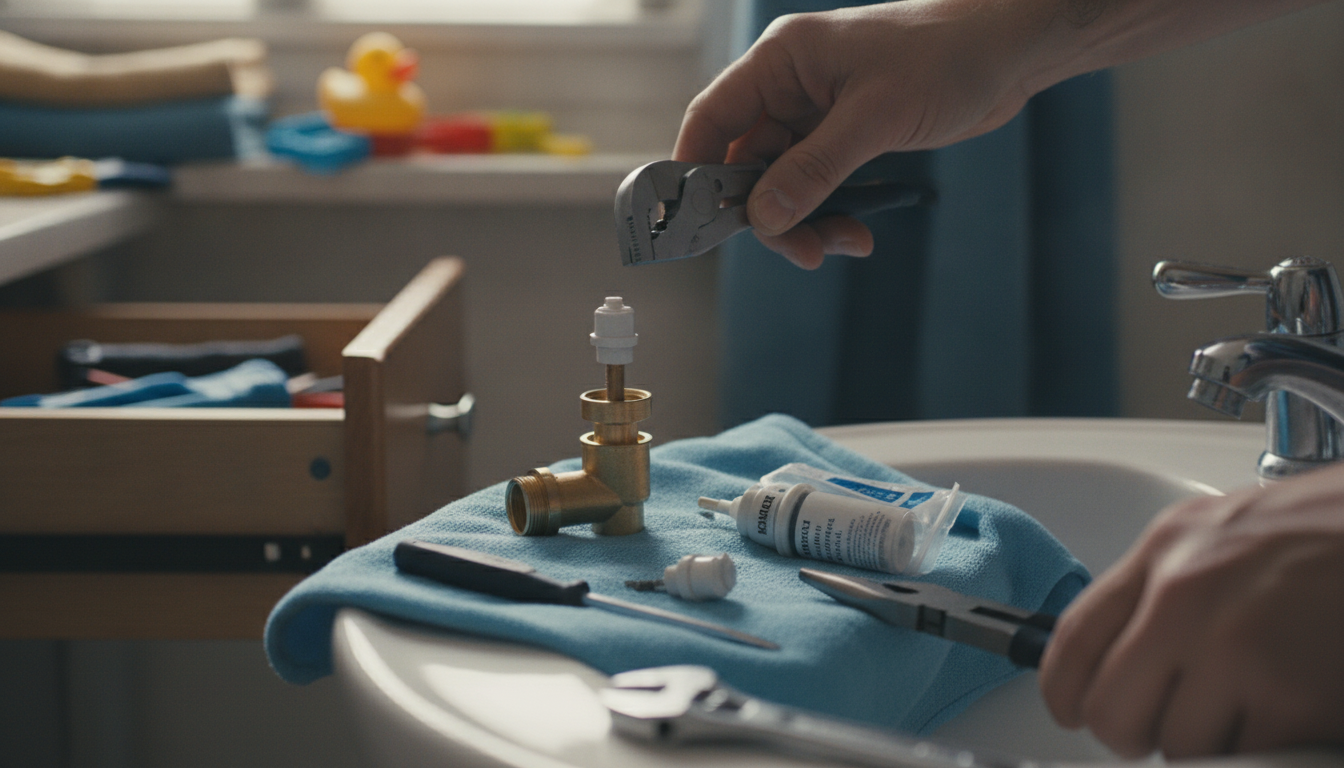
Replacing a KOHLER bathroom faucet cartridge is a practical fix for dripping, inconsistent water temperature, or a handle that’s hard to move. The exact steps vary by model, but the workflow is usually the same: shut off water, remove the handle and trim, pull the old cartridge, then install the matching replacement and reassemble.
1) Turn off the water and prep the work area
Close the hot and cold shutoff valves under the sink. Open the faucet to relieve pressure and confirm the water is fully off. Cover the drain so small screws or clips don’t disappear, and keep a towel handy for residual water.
2) Remove the handle and trim
Look for a small set screw (often on the underside or back of the handle) and loosen it with the correct Allen key. If there’s a decorative cap, gently pry it off to access the fastener. Lift the handle off, then remove any escutcheon, sleeve, or retaining hardware to expose the cartridge area.
3) Take out the old cartridge
Many KOHLER faucets use a retaining nut, bonnet, or clip to hold the cartridge in place. Remove that retainer carefully and note its orientation. Pull the cartridge straight out; if it’s stuck, wiggle it gently or use a cartridge puller designed for faucets to avoid damaging the valve body.
4) Install the new cartridge and reassemble
Match the replacement cartridge to the original (shape, tabs, and alignment marks). Lightly lubricate O-rings with plumber’s silicone grease if recommended, then seat the cartridge fully in the same orientation. Reinstall the retainer, replace trim, and reattach the handle.
5) Restore water and test
Turn the shutoff valves back on slowly. Run the faucet through hot/cold and check for leaks around the handle and spout. If it drips or the handle feels off, the cartridge may not be seated or aligned correctly.
For model-specific guidance and extra troubleshooting details, follow the step-by-step walkthrough here: How to Replace a Kohler Bathroom Faucet Cartridge.
FAQ
How do I know which KOHLER cartridge I need?
Remove the handle and inspect the cartridge shape and any part numbers printed on it. When possible, bring the old cartridge to the store or match it to your faucet’s model number to ensure the tabs and stem length are identical.














Leave a comment