


Connect a Smart Projector: Wi‑Fi, HDMI & Casting Setup
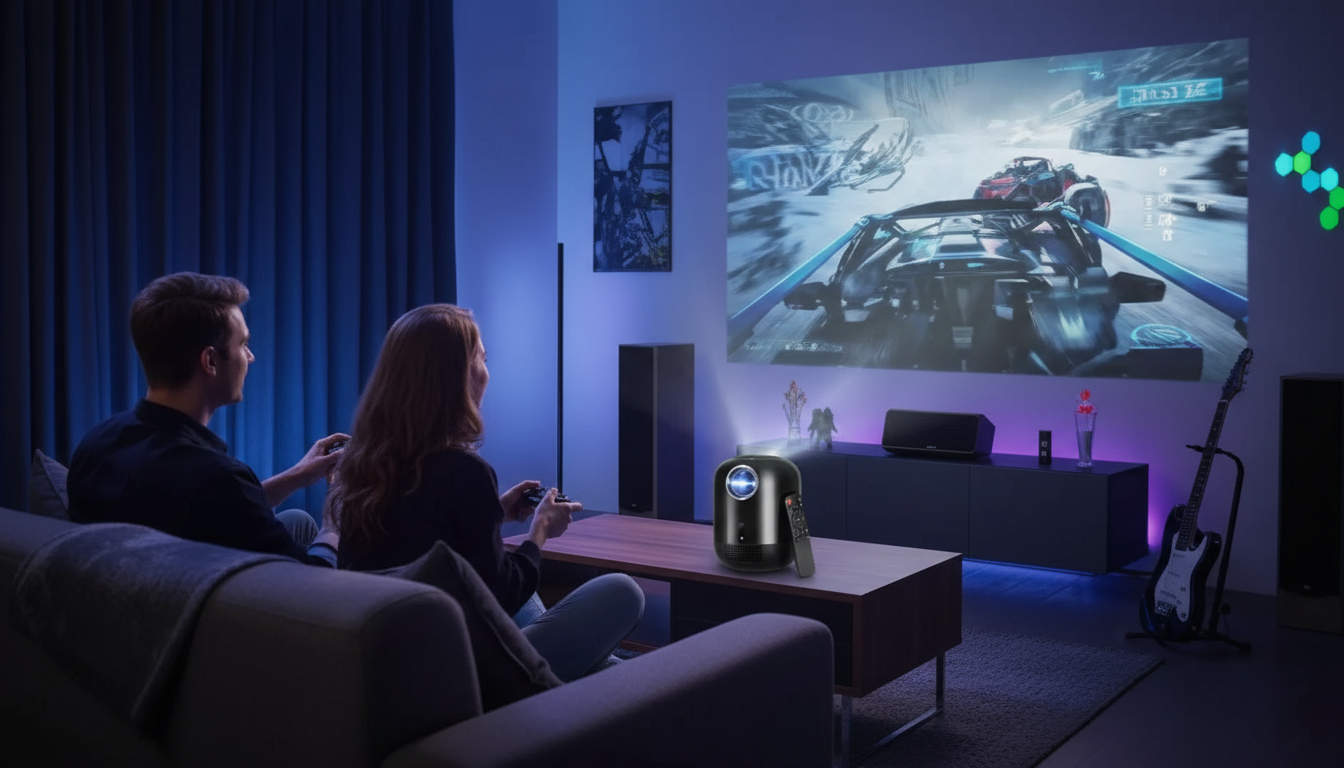
How do I connect my smart projector?
Connecting a smart projector usually comes down to three things: power, network, and the device you want to play from. Most models support Wi‑Fi for streaming apps, Bluetooth for audio, and either HDMI or wireless casting for video from a phone, tablet, or laptop.
1) Power on and complete the first-time setup
Place the projector on a stable surface, plug it in, and turn it on. If your projector prompts you to choose a language, region, or time zone, finish those steps first. Many “smart” models also ask you to sign in to the projector’s operating system (such as Android TV or a brand-specific interface) so you can download and use apps.
2) Connect the projector to Wi‑Fi
Open Settings and look for Network or Wi‑Fi. Select your home network and enter the password. If you have both 2.4 GHz and 5 GHz networks, start with 5 GHz for smoother streaming when the projector is close to the router. After connecting, confirm the projector shows an IP address or “Connected.”
3) Choose your connection method (wired or wireless)
HDMI (most reliable): Connect a streaming stick, game console, cable box, or laptop using an HDMI cable. Then switch the projector’s input/source to the correct HDMI port.
Screen mirroring/casting: Use the projector’s built-in casting feature (often labeled Cast, Screen Mirroring, Chromecast built-in, or AirPlay). Make sure the projector and your device are on the same Wi‑Fi network. Start casting from your phone/laptop and select the projector from the device list.
4) Pair Bluetooth audio (optional)
If you want sound through external speakers or headphones, go to Settings > Bluetooth, put your speaker/headphones in pairing mode, and select them on the projector. If there’s audio delay, look for an “audio sync” or “lip sync” setting.
More detailed walkthrough
For a step-by-step guide tailored to common smart projector setups, visit How do I connect my smart projector?.
FAQ
Why won’t my phone find my projector when I try to cast?
Confirm both devices are on the same Wi‑Fi network, restart Wi‑Fi on your phone and the projector, and disable any VPN that can block device discovery. If casting still fails, try updating the projector firmware and using HDMI as a quick fallback.













Leave a comment